Printing Labels in Microsoft Word for Mac Using Data Exported From Synergy
How to take report data exported to Excel from Synergy and print labels using Microsoft Word for the Mac.
Exporting Data From Synergy
1. Open the report you want to pull data from, STU201 (student profile) for example. If exporting from a TeacherVUE report, select TXT as the report output and skip steps 2-4.
2. Make the desired selections on the "Options" tab and then click on the "Sort/Output" tab.
3. Change the output from PDF to CSV. Note: you can also export search results to CSV.
4. Click the "Print" button.
Checking Excel
When you open the document in Excel, you will see that each cell in the first row contains "header" information that describes the content of that column, "Addressee," "AddressLine1" etc.

Setting up Labels in Microsoft Word (Office 2021)
1. Open a new Word document. In the "Mailings" tab, click the "Start Mail Merge" button.

2. Select "Labels..."
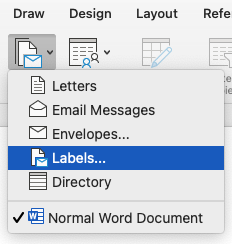
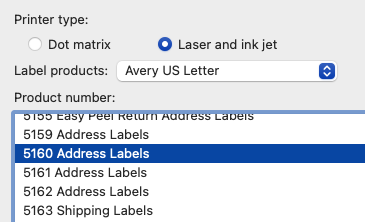
3. In the new window that opens, choose the label type you will be using, most likely Avery5160. Click "OK."
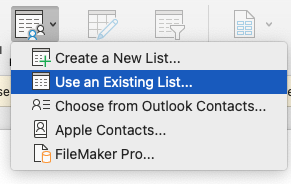
4. Click the "Select Recipients" button and choose "Use an Existing List..." Locate and select the CSV you exported from Synergy.
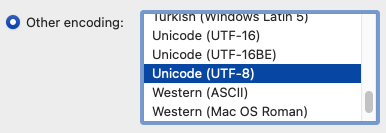
5. In the file conversion window that opens go with the recommended encoding, likely Unicode (UTF-8) and click "OK."
6. Back on the main document window, in the first (empty) label space, click the "Insert Merge Field" button and select the field you want. You can enter both regular text and merge fields in this space.

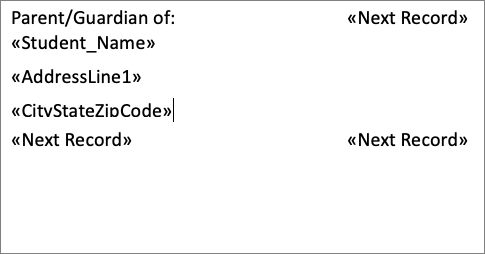
7. Use the "Update Labels" button to copy your setup from the first label space to all others. Use the "Preview Results" button to see sample output.

After previewing, you may find that you need to adjust the font size (under the "Home" menu) in the first label space, to avoid line wrapping. Be sure to hit the "Update Labels" after making changes so the changes are applied to all labels.
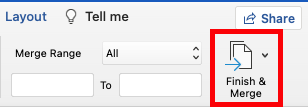
6. If everything looks good, click "Finish & Merge." Selecting "Edit Individual Documents" will open a new Word doc with the merge data filled in so you can make changes. "Print Documents" will skip this step and take you right to the print dialog window.
